masks

There is a purpose for the masks. Our back yard fence needs to be replaced and I don't want just any old fence, I want a custom fence so I decided to buy a bunch of exterior doors (17 to be exact) and make a fence out of them. Each door will be custom painted and a few of them will have the masks hanging from them. I see the door fence as a giant blank canvas that I get to fill!!
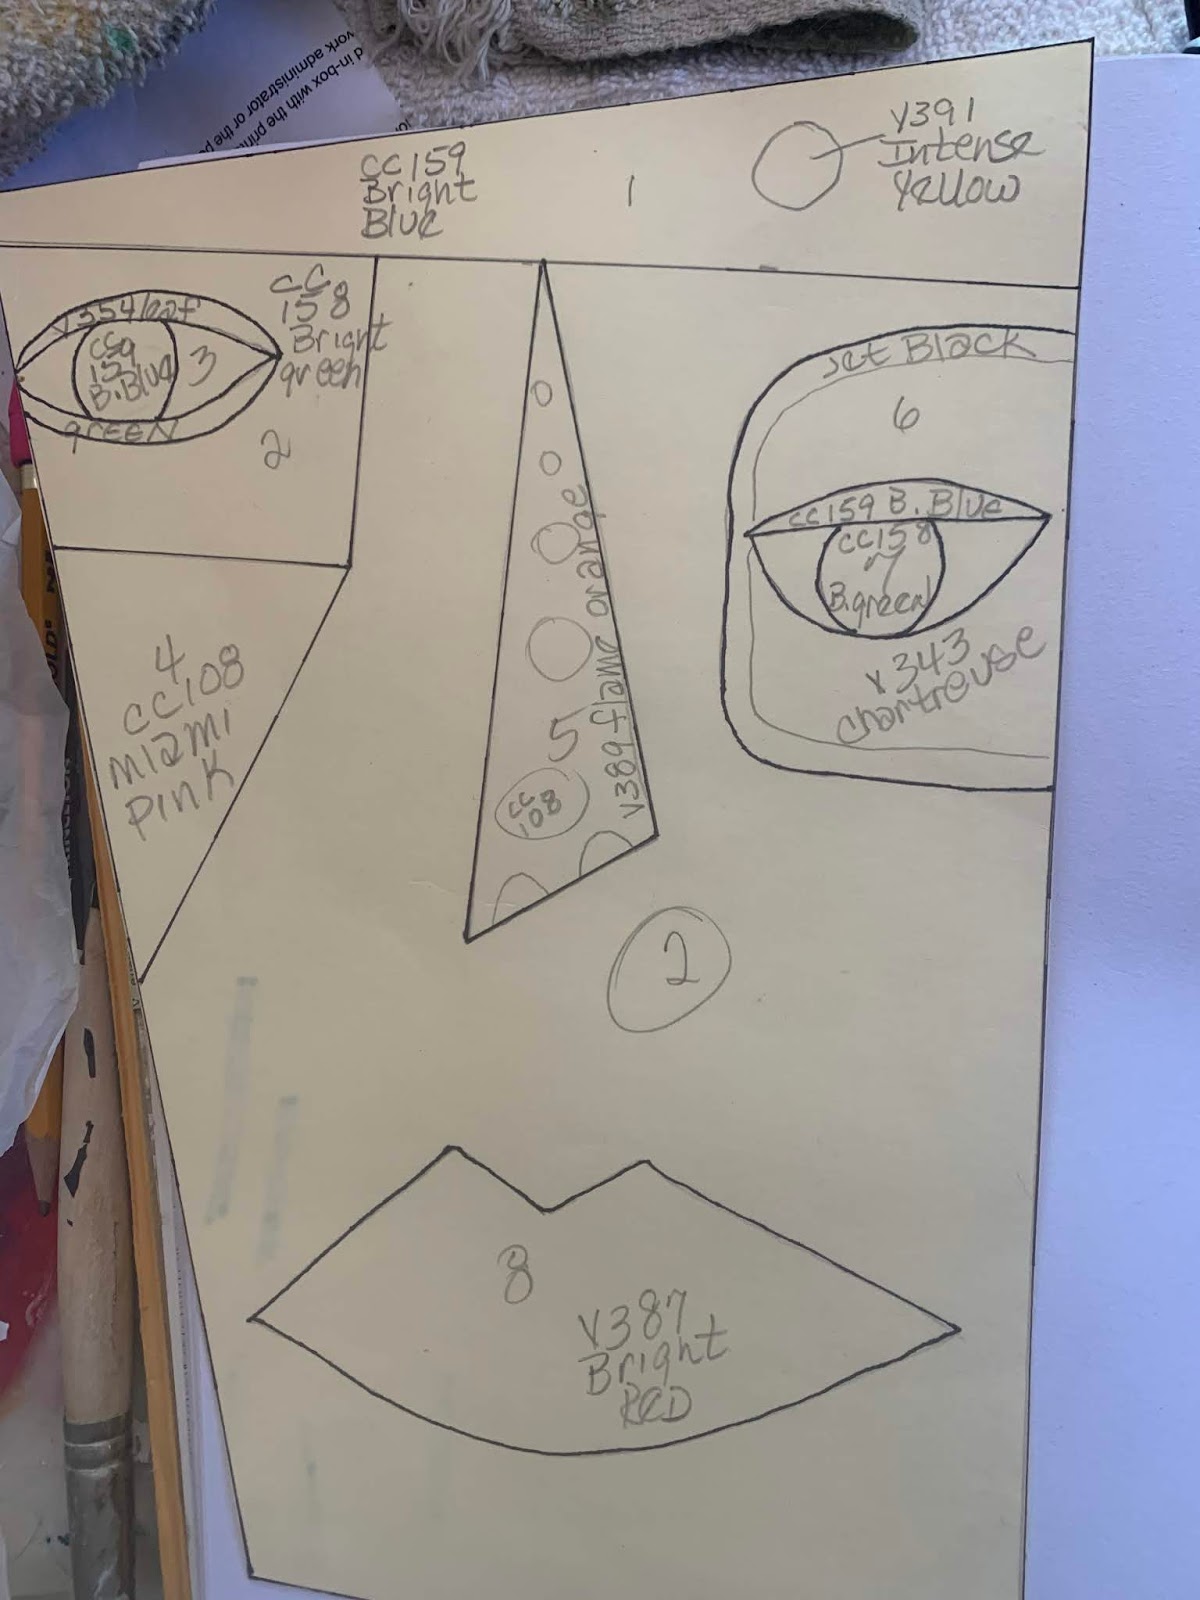
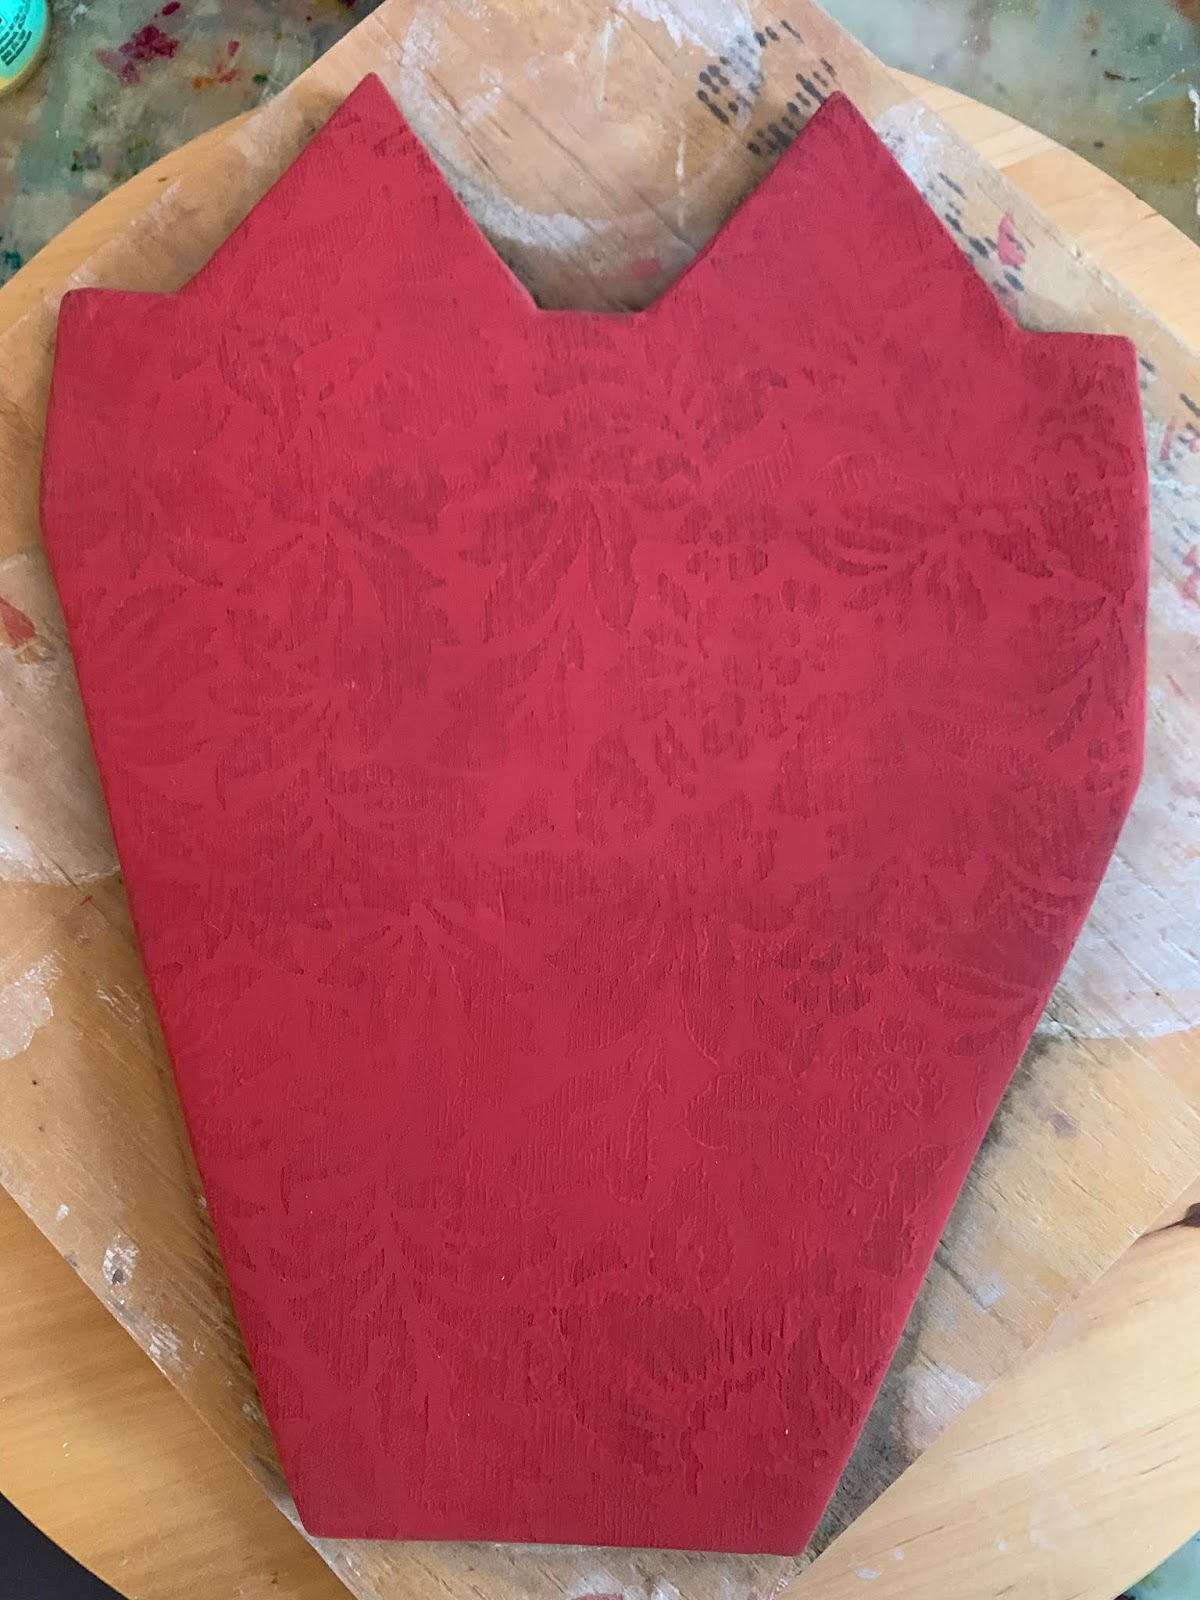
First I drew the masks onto manila folders. Then I made copies of these, taped them together where necessary and cut out the parts to use as a pattern to cut out the clay.


posted by Zardo and Odraz @ 3:35 PM
0 comments
![]()
![]()