Remember when we were kids and when we returned to school in the fall the teacher had us write "what we did over the summer" essays? Well, this is mine. This summer I took a Ceramics 1 class at Allan Hancock College. This was the first time that I have played with clay and I have to admit that I am totally hooked now. The summer class is 16 weeks of instruction crammed into 8 weeks. It is fast, intense and fun. We had such a wonderful and talented group of people in that room ranging in age from 17 to 60's. You could feel the energy in the room when you were in there. Our teacher Candy Vosburg and the lab instructor Cheryl Weiss were so wonderful. These two women are a wealth of knowledge which they share freely with everyone in the room. These photos are of the work I did over the summer with the guidance of these creative women.

This is a pinch coil bowl that has been sgraffitoed on the inside and outside. I discovered that I LOVE to sgraffito and will continue doing that more and more. It measures 10" across and 4" at it's tallest.
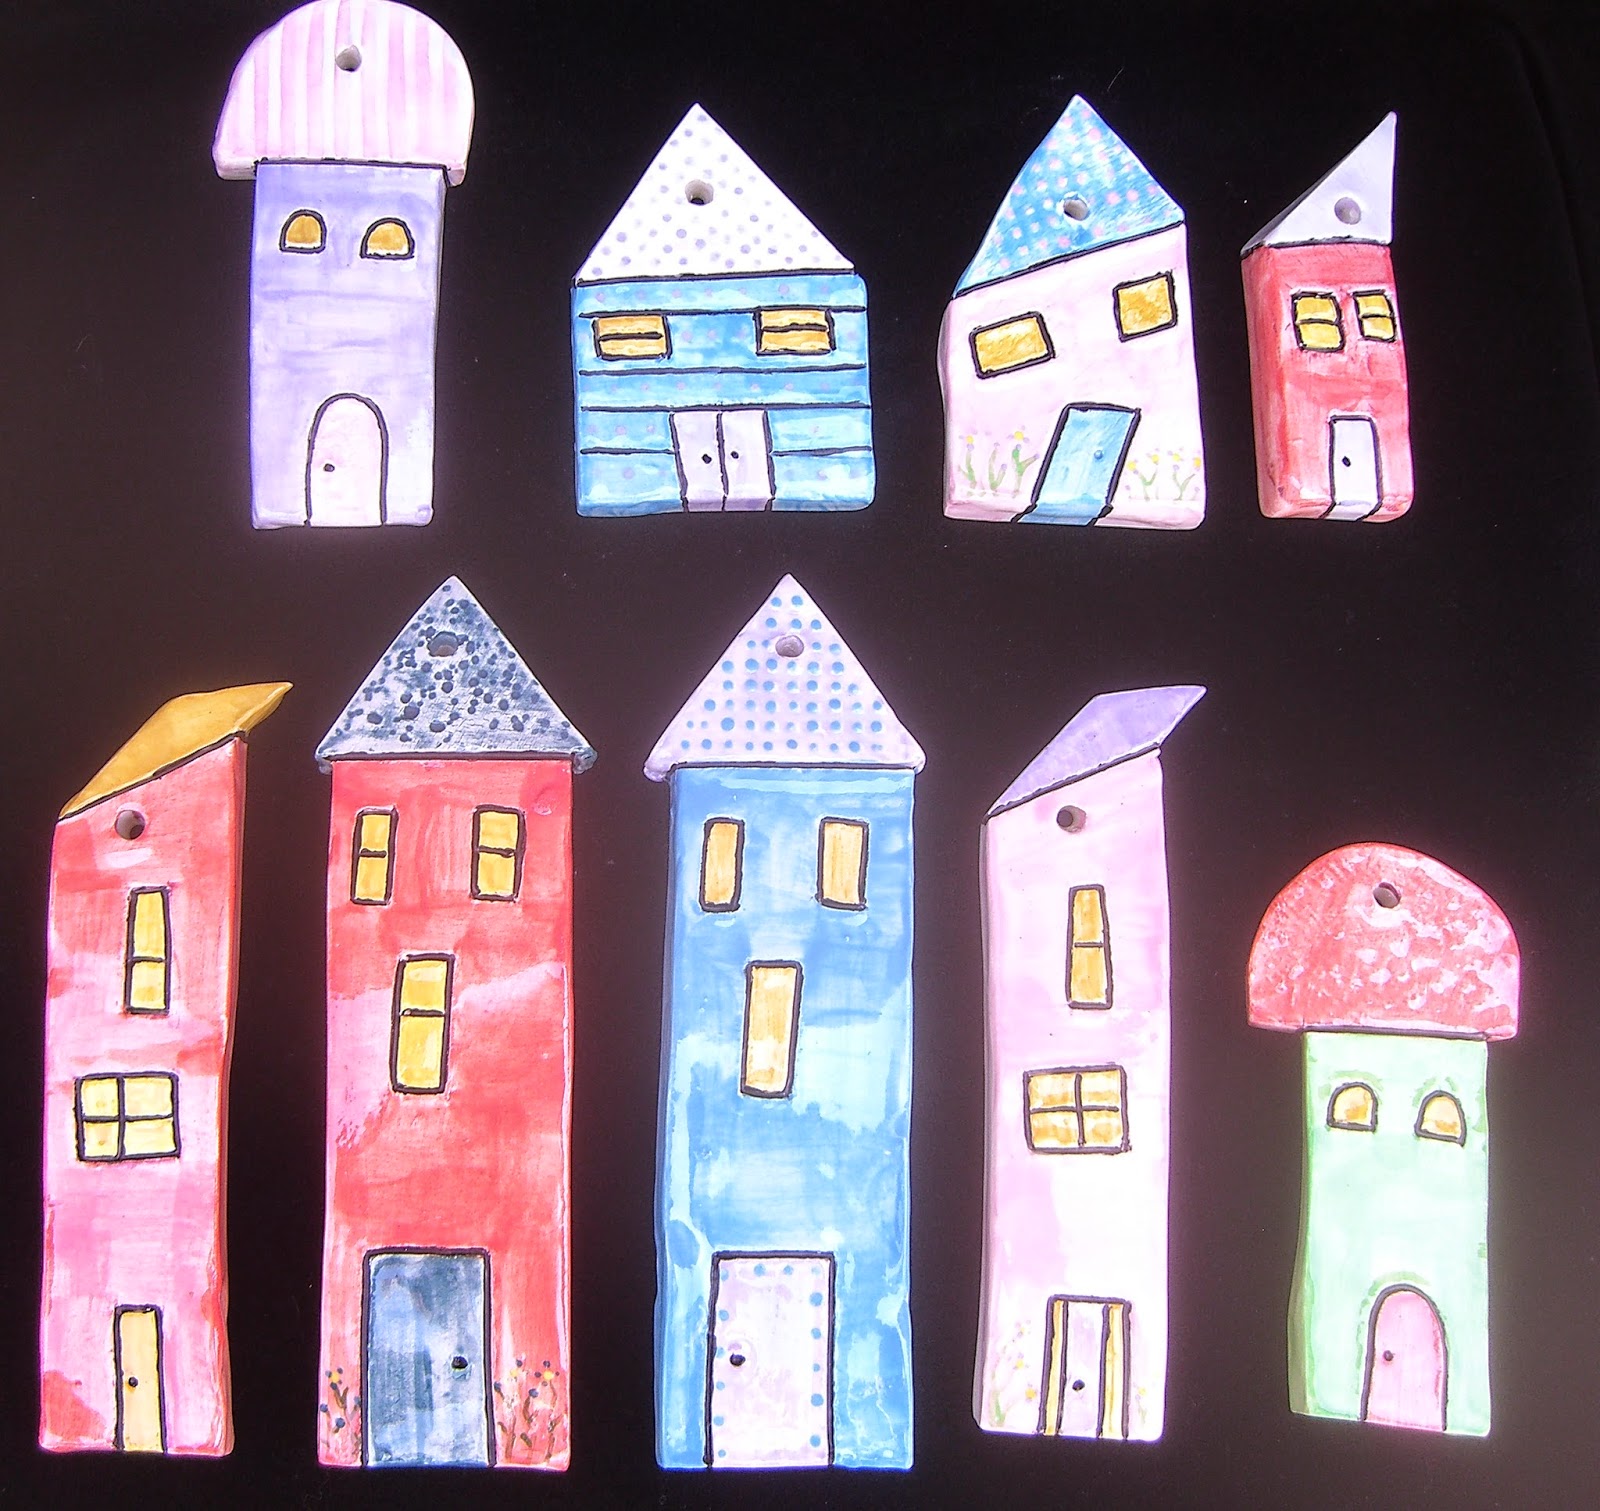
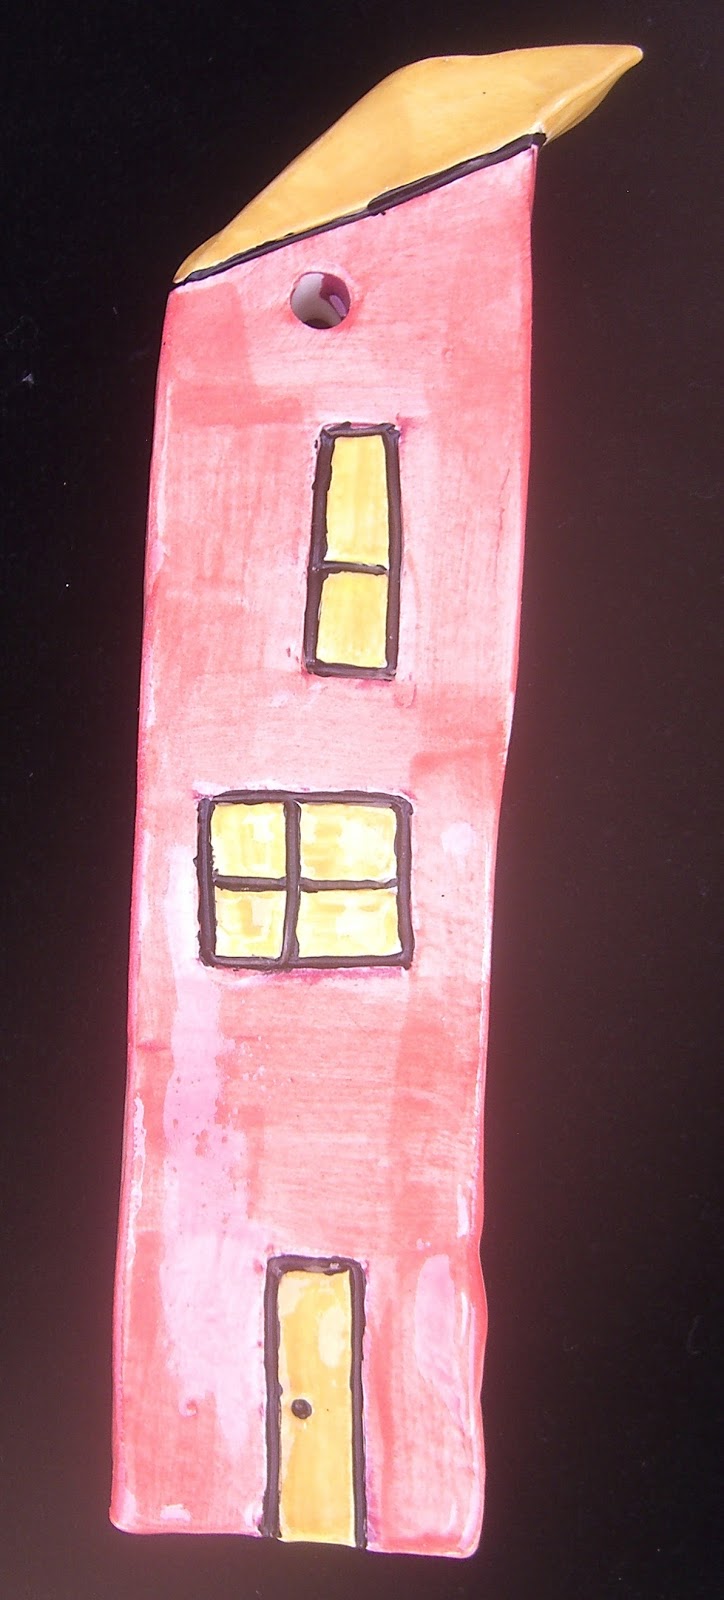
This little house is designed so the roof comes off and I can put a candle in the middle so the light shines through the cut out windows. The house measures 5x5" and the roof 7x7" and it is slab built.
My pinch pot is 2.5"x3" and is perfect to hold little odds and ends. I did discover that I really do not enjoy making pinch pots but will continue working with them.
This one is two pinch pots put together. The original thought was that the top would be removable which is why there are V shapes at the top. What I didn't realize was that I need to remove the top right after it is cut otherwise what was once a lidded pot is now an object of admiration. I added beaded and curled wire at the top for some bling and interest.
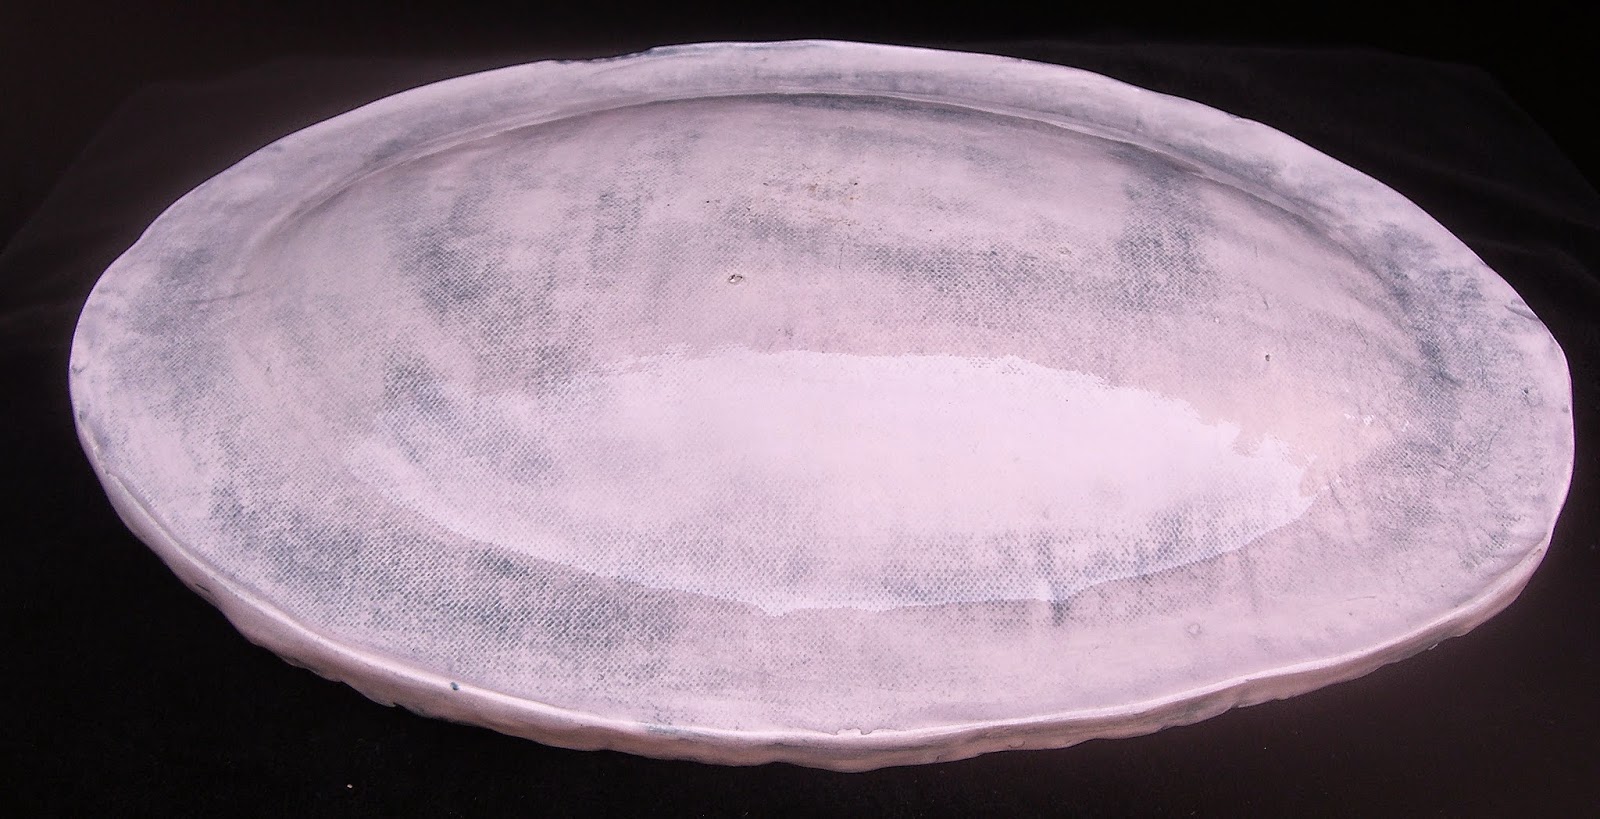
This is my hump bowl with literally "feet". There is a molded face in the center of the bowl.
The feet at the bottom are from a mold and has painted toe nails!
On the side of the bowl are molded hands. It is about 3" tall and about 5" across.
My textured cylinder measures 7.5" tall and 5" across. How I love texture. The oval pattern across the top is from one of my hand carved rubber stamps. The circles in the middle are made from a bottle cap and pokes from a stick. The bottom texture is from an unmounted rubber stamp.
Another cylinder is 6" tall and 4" across. The main pattern on this is from another of my hand carved rubber stamps. Notice that there are holes poked around the body of the cylinder. These are meant for fibers to be woven around the body. After I have finished with the fibers I will post pictures.
I love the drips that I did inside the cylinder.
This cylinder measures 6" tall by 4.5" across. It has holes poked into the bottom for drainage as I want to use it as a succulent pot. The designs are from my hand carved rubber stamps. I did sgraffito on the sides for texture and interest.
Did I mention how much I love cylinders? This one too has holes in the bottom to be used as a planter. It measures 4" tall by 4.5" wide. I did sgraffito around the sides. The design of the sgraffito was taken from a paper napkin.
The additions on the sides were impressed with a rubber stamp.
Little pinch pots that I was playing with.
In the bottom of the one on the right is a painted swirl.
Thin pieces of clay that I textured and played around with.
My slump bowl is highly textured and has additions of moons that were made from molds.
Textured tiles of various sizes. All of the clay that I used is low fire white clay and the coloring is all from Duncan under glazes with a top glaze at the end.
A 6x6" tile made from one of my hand carved rubber stamps and the edges were created from corregated cardboard.
One of our assignments was to use latex resist. I painted the resist on the flower area and on the edges. The scalloped edges were created by cutting a piece of paper with decorative edge scissors and painted the resist on using the paper as a stencil. Onece the background was painted and the resist was removed I then went in and painted the edges and the flower.
It was a very fun summer and I can't wait for the fall semester that starts in a week. I have enrolled in Ceramics 2! There is no telling what I will make over the fall.